Not wanting to spend another $8 to ship them off, certainly not wanting to pay $36 bucks to have them re-webbed, and knowing that my brother had successfully re-webbed his own Chacos, I started my project.
You will need:
- A torch, or matches, or some heat source to melt the ends of your webbing
- About 10' 3/4" wide tubular webbing (costed me a little over a quarter a foot)
- A medium sized needle
- Strong thread (I had to go to Jo-Ann Fabric and Craft for upholstery thread)
- A knife
- Scissors
- A few hours
Here are pictures of the beginning and the end, and then how I did it.

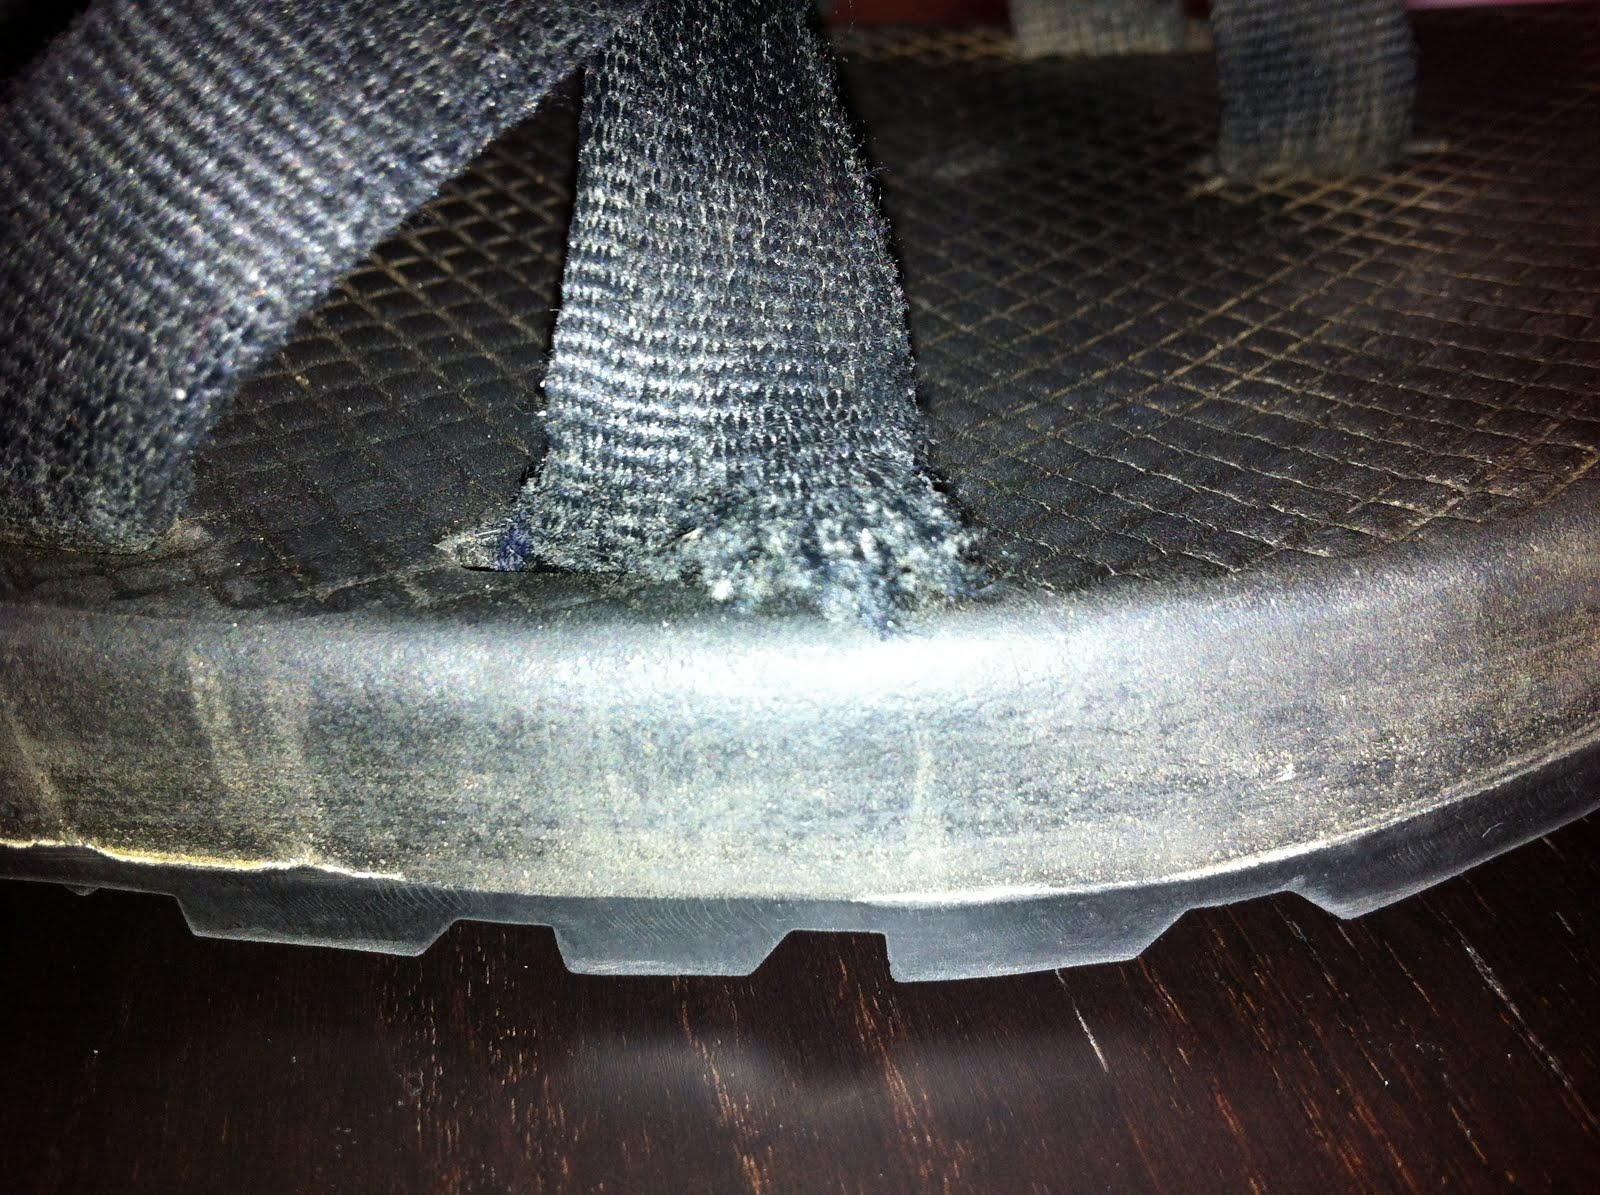

1. Remove the bar tack stitching that connects the main strap to the inside heel riser (the ones between your feet, not on the outside). I just replaced the main strap as my heel strap and buckle straps were fine, as I assume most are. But those seem replaceable too, you just need to take off the chaco logo.
The bar tack stitch also has a straight stitch underneath. So I took a knife and cut the side to side bar tack stitch, and then pulled the thread out with my leatherman. Be very careful that you don't cut any of the heel riser webbing. Take your time so you are just cutting stitches. After the bar tack is gone, you need to cut the straight line of stitches holding the strap in.


2. Cut the end of the webbing you just removed from the heel riser at an angle and fuse it with a torch. Cut the end of your new webbing complementary and fuse it as well.

3. Thread your needle and sew the two ends together well. You want to butt the ends together, not overlap. Make sure it is very secure. Otherwise the connection may break while it is being threaded through, and then you will need to cut through your sole to finish the repair.
To sew it together, I took 10 inches of thread, and threaded 2 inches through the eye of the needle. Don't tie a knot anywhere in the thread. Just sew 4 or 5 times through the smallest bite of webbing on a corner of one of the pieces. Once you have this anchor, just keep looping over that seam between the pieces. I went from one end to the other, and then back and anchored again like I did at the start. Then snip the pieces. You may want to double this if you aren't sure it is strong enough or if you don't have heavy duty thread (I'd recommend upholstery thread, which is 100% nylon and doesn't fray). Trim any protruding corners that may impede threading this seam through your sole.

4. Now pull, and pull hard. You need to pull your new webbing through the whole webbing pattern. You may need to find the right angle of pull so that the webbing moves and you don't tear your foot bed apart. Check your stitching after each pass so it doesn't fall apart on you.

5. Now that it is all the way through, snip off the old webbing by cutting your new webbing at a right angle right after the seam. Fuse the end. You can now cut the other end of your old webbing and disconnect it from the buckle. Note how it is attached, because you will be replicating that.
6. Sew your new webbing on the buckle like the old webbing was sewn. Again, thread the needle, pass through the same bite (as much as you can, you just want to concentrate your stitching on the smallest possible piece of webbing) several times, and do your best to replicate a bar tack stitch (what was there originally). With all the stitches in this project, I did it twice, with about two passes each. So I would anchor, go from one side to the other and back, anchor again, and trim the thread. Then I repeated the process. That way if one stitch breaks, you have a backup.

7. Now, put the sandal on your foot and adjust all the straps just like you normally would. Mark about where you should cut the other end of your new webbing, and cut it at an angle (it comes out of the heel riser at about a 45 degree angle). Fuse the end.
8. Slide the end into the heal riser, thread your needle, anchor, stitch two passes, anchor, trim. Repeat. You've finished repairing one sandal, now do the other.

9. Enjoy the re-webbing job that cost you under $10
I was pretty pleased with the result. My only complaint is that my new webbing is a little softer and floppier than my original webbing so it takes a bit more effort to put them on. The original webbing is tubular, but it looks like it may be stitched flat. It may stiffen up it time, or perhaps wax or a rosin could help it out.
Let me know if you have any questions.